Caesar Salad

In this recipe we’ve transformed the classic Caesar salad into a full meal. And, we’ve made it vegan. Chickpeas and quinoa not only taste delicious, but add non-blood-sugar-spiking carbohydrates and protein to transform a Caesar salad into a meal that will keep you full for much longer than just some veggies alone. Enjoy!

Serves 2

High FODMAP

Caesar Salad Ingredients

½ can chickpeas (roasted)

2 leaves of kale (off the stem)

4 leaves of Romaine lettuce

1 cup cooked quinoa (cooled)

2 tablespoons capers


Caesar Salad Dressing Ingredients

1/3 cup vegan mayo

1 tablespoon Dijon mustard

½ tablespoon olive oil

1 teaspoon soy sauce

1 teaspoon apple cider vinegar

1 clove of minced garlic

Juice of ¼ of a lemon

Ground pepper to taste

1-2 tablespoons of water, depending on desired thickness


Directions for Chickpeas

https://kristenyarker.com/kristen-yarker-dietitian-blog/roasted-chickpeas-4-ways

Halve the recipe or make a full batch if you want extra! For seasoning, I used salt and pepper.


Directions for Caesar Salad

1. Follow the above chickpea recipe.

2. In a frying pan, heat one tablespoon of olive oil on medium-high heat.

3. Fry the capers until crispy (about 5 mins). Allow to cool.

4. Add the quinoa to a medium-large bowl.

4. Wash and cut the lettuce and kale. Add to the bowl.

5. Add the crispy chickpeas and capers.

6) Add all the dressing ingredients to a jar and shake until mixed.

7. Add around 2 tablespoons of dressing to the salad. Adjust amount to your liking.

8. Toss the salad and enjoy!

Looking for another full meal salad idea? Check out this Tomato, Black Bean, and Corn Salad.

Recipe and photo credit: Olivia Dodsworth

Low Sugar Hot Cocoa (Vegan Option)

Makes 1 mug 

I’ve been sharing this recipe with a lot of clients lately and they’ve found it the perfect warm, comforting solution. So, I wanted to share it with you. This recipe is so simple that it barely qualifies as a recipe. But I wanted to share it because it’s a great way to satisfy a sugar craving with barely any sugar. It makes a hot cocoa that my fellow dark chocolate lovers will enjoy.

Use this as a technique more than a recipe. Adjust it to suit your tastes. For example, make it vegan by using a plant-based milk alternative and maple syrup. Want a stronger chocolatey flavour? Use more cocoa powder (or do the opposite if you want it weaker). Like orange chocolate? Try adding a drop or two of orange blossom water. Want to get the anti-inflammatory properties of turmeric that made golden milk so popular a number of years back? Add some, along with the black pepper to activate the anti-inflammatory compounds. For the photos, we jazzed it up with some whipped cream and some chocolate shavings.  


Low Sugar Hot Cocoa Ingredients

1 mug milk of your choice (dairy, oat, soy, etc)

Scant 1 tablespoon cocoa powder

½ teaspoon sugar (or sweetener of your choice)

Options:

2 drops orange blossom water

1/8 teaspoon turmeric powder and a small pinch of black pepper

Top with whipped cream or non-dairy whipped topping 


Low Sugar Hot Cocoa Directions

1. In a small saucepan on medium heat, add the milk, cocoa powder, sugar, and other optional ingredients.

2. Warm, stirring frequently, until steam rises from the saucepan.

3. Enjoy!


Looking for something cold and chocolatey and low added sugar? Check out this super simple recipe for chocolate banana popsicles

Photo credit: Olivia Dodsworth

Overnight Oats

Do you find that weekday mornings are rushed?

If so, you're not alone. Most families I work with name this (and weeknight evenings) as the most harried times of the week.

Usually I share recipe ideas that can help with weeknights.

But I've recently given overnight oatmeal a try and I'm loving this! I've totally jumped on the bandwagon. And I'm sharing the recipe with you so you can jump aboard too.

Prepared the night before, and with no cooking required, overnight oats are fantastic!

Made with rolled oats, it's a minimally processed, whole food way to start the day. Much healthier than most boxed cereals and those instant oatmeal packets.

And, it travels well. Which is perfect if you find that you can get your kids fed in the morning but you struggle to get something into yourself. I know that many people rely on smoothies in this situation. But I've always found that I'm hungry again by about 10am when I've had a smoothie for breakfast. Not so with overnight oats - I'm full until noon (or later)!

This recipe is really more of a technique. Mix and match proteins and fruits for variety and to find your favourite combination.

Overnight Oatmeal Directions:

Oats:

  • Combine equal parts rolled oats with yogurt and milk in a bowl or the container that you'll take this in to go (I carried mine with me in the mason jar). A generous adult serving is 1/3c up oats, 1/3 cup yogurt, 1/3 cup milk (or skip the yogurt and use 1/2 cup or more of a plant-based milk alternative, such as oat milk). For kids, start with 1/4 cup of each ingredient and adjust from there depending on your child's appetite.

Protein:

  • Choose a protein that you like. Examples include hemp hearts (my personal favourite), chia seeds, chopped or sliced nuts, nut butter, pumpkin seeds. Add it to the oat mixture.

Fruit:

  • Choose a fruit that you like. Examples include: applesauce (my personal favourite), berries, pomegranate, pumpkin puree. Add it to the oat mixture.

As the name of this dish suggests, prepare everything the night before. Place it in the fridge. The next morning, give it a stir and enjoy!

Get more healthy recipes here.

Pumpkin Spice Oat Muffins

Pumpkin Spice Oat Muffins

Victoria BC Dietitian (Nutritionist) Kristen Yarker, MSc, RD Shares a Recipe for Delicious and Healthy Pumpkin Spice Oat Muffins. A Healthy Hidden Veggie Snack for Picky Kids (and Adults Too)

Read More

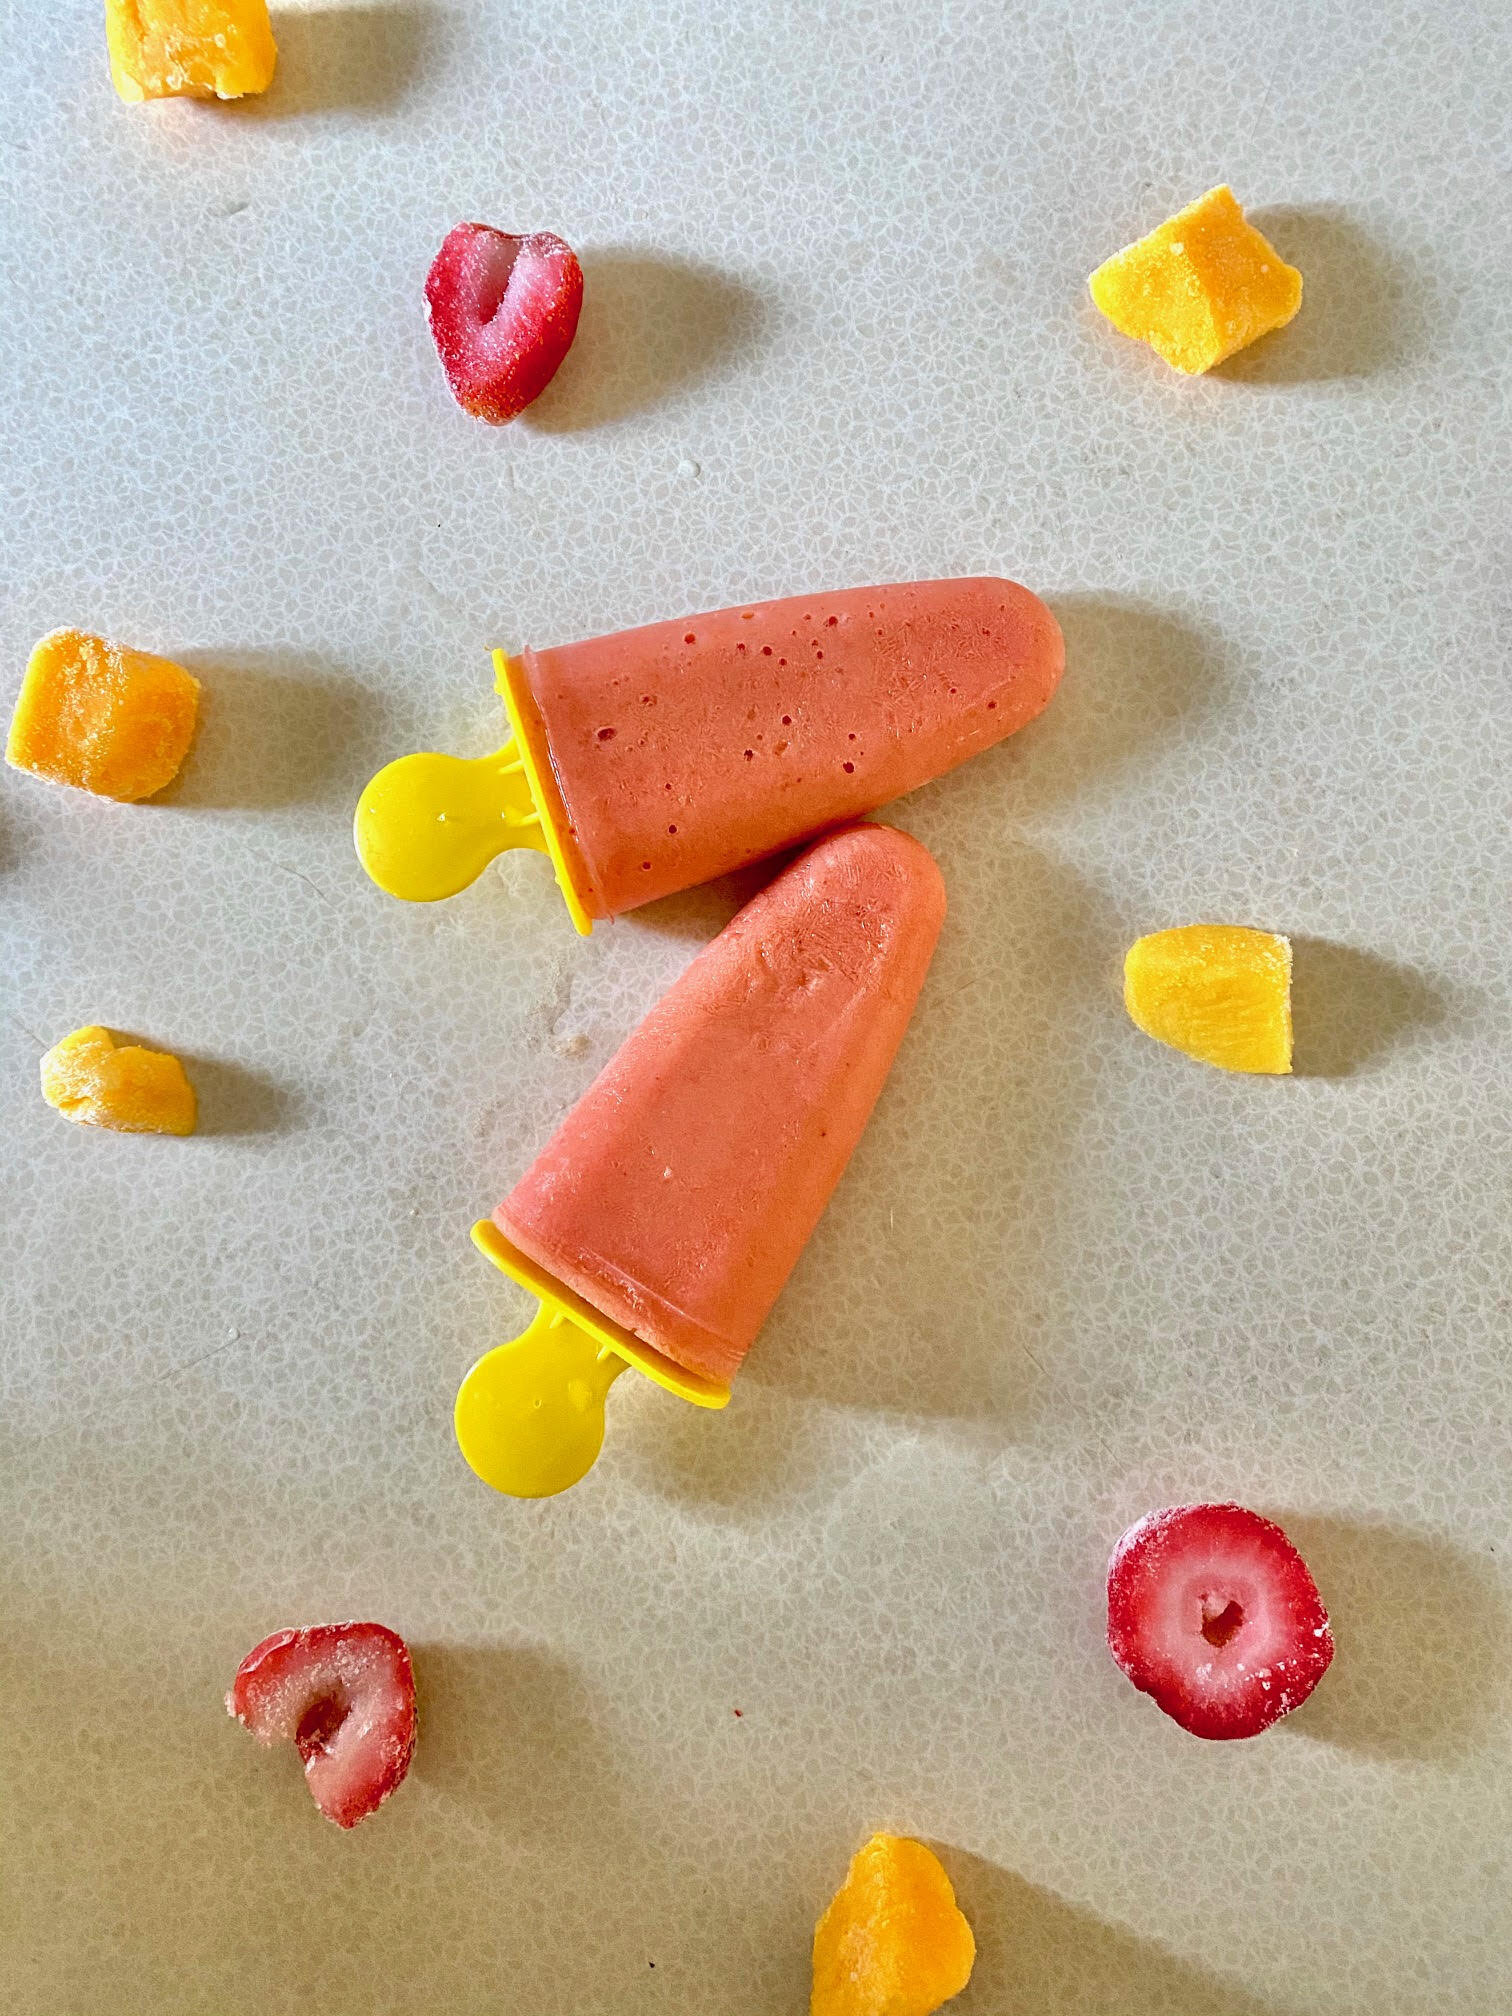
Carrot-Strawberry-Mango Homemade Popsicles

Carrot-Strawberry-Mango Popsicles.jpg

Call them ice pops, popsicles, or paletas, these are a delicious, cool way to eat your veggies and fruits. And, they’re perfect for picky kiddos who don’t like to eat their veggies.

Makes 6 popsicles (will vary with size of moulds)

Carrot-Strawberry-Mango Homemade Popsicles Ingredients:

  • 2 carrots, chopped

  • 1 1/2 cup strawberries, fresh or frozen

  • 1 cup mango, fresh or frozen

  • 1/2 cup water

Carrot-Strawberry-Mango Homemade Popsicles Directions:

  1. Peel and chop carrots. Put carrots into boiling water for 5 minutes, until fork tender.

  2. Remove carrots from water and set aside.

  3. Combine ingredients in a blender. Blend until smooth.

  4. Pour mixture into popsicle moulds. Freeze until solidified. 

  5. Enjoy!

Get more home-made ice pops (with hidden veggies) HERE.


KY_PinTemplate_NEW2-26.png

Love this post?
Pin it!

Save this post for later or share it with your friends and family on Pinterest.

Check out more of Kristen’s pins here.

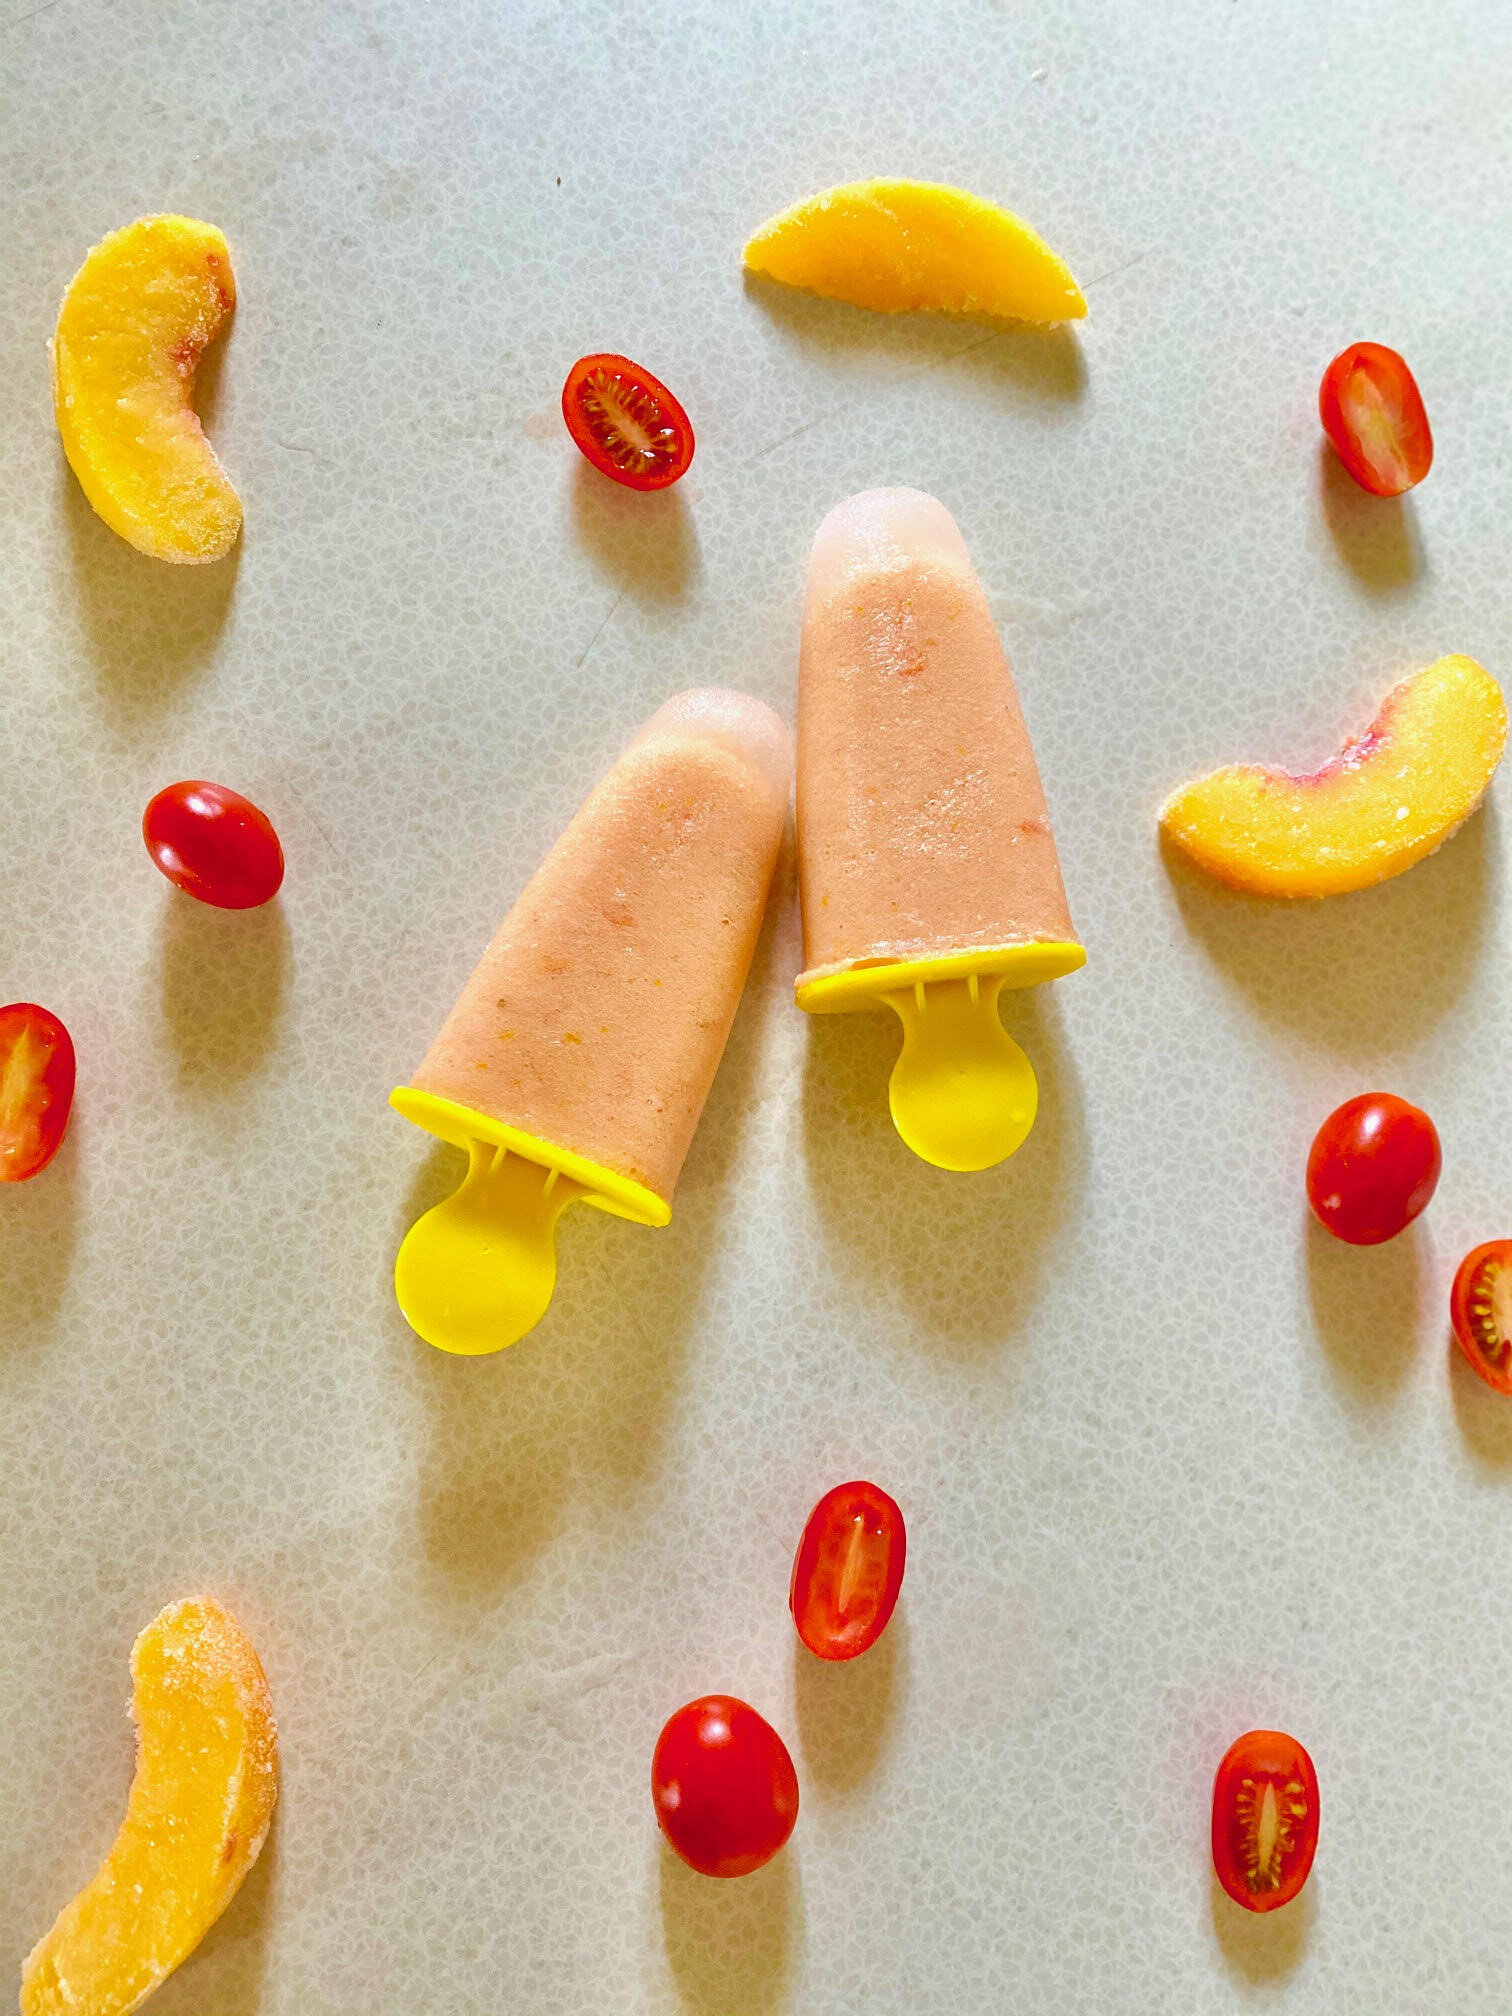
Peaches and Cream Popsicles

Peaches2.jpg

PEACHES AND CREAM POPSICLES

Makes 6 Popsicles (will vary with size of moulds)

INGREDIENTS:

  • 8 cherry tomatoes, orange or red

  • 2 cups peaches, fresh or frozen

  • 2 tbsp honey (or maple syrup or agave syrup) *optional

  • 1/4 cup coconut milk

  • 1/2 cup water

DIRECTIONS:

  1. Combine all ingredients in a blender. Blend until smooth.

  2. Pour mixture into popsicle moulds. Freeze until solidified.

  3. Enjoy!

Recipe and photo by the amazing dietetics student Alyssa Chai. Thank you Alyssa!

Click here for more homemade ice popsicles.


KY_PinTemplate_NEW2-27.png

Love this post?
Pin it!

Save this post for later or share it with your friends and family on Pinterest.

Check out more of Kristen’s pins here.

Chocolate-Banana-Peanut Butter Macaroon Sandwich Cookies

ChocolateBananaPeanutButterMacaroonSandwichCookies

CHOCOLATE-BANANA-PEANUT BUTTER MACAROON SANDWICH COOKIES INGREDIENTS:

  • 4 bananas

  • 1 1/2 cup desiccated coconut

  • 3/4 cup flour

    Filling:

  • 1/4 cup smooth peanut butter, natural (no added sugars)

  • 1 tbsp. coconut oil, melted

  • 1 tsp icing sugar (optional; for thickening the filling if it becomes too runny)

    Topping:

  • 100g dark baking chocolate, melted

CHOCOLATE-BANANA-PEANUT BUTTER MACAROON SANDWICH COOKIES DIRECTIONS:

  1. Preheat the oven at 375F (190°C). 

  2. Peel and mash the bananas. Overripened bananas may be best to use, but bananas that are just ripe will also work just fine.

  3. Mix in the coconut to the mashed bananas. Then, add the flour. 

  4. Roll the mixture into bite-sized balls and put on a baking sheet. Slightly flatten the balls.

  5. Bake for 15 minutes, until they start to turn golden.

  6. Take them out of the oven to cool.

  7. Combine the melted coconut oil and peanut butter. Stir until evenly distributed.

  8. Spread a spoonful of peanut butter mixture onto a banana cookie, then sandwich with another banana cookie. 

  9. Melt the chocolate in the microwave for 30 seconds on HIGH. The mixture should be mostly liquid with some chunks of chocolate. If it needs further melting, continue to heat for 10 or 15 second intervals and check between each.

  10. Dip each macaroon into the melted chocolate, or drizzle the chocolate on top.

  11. Set aside for the chocolate to set.

  12. Enjoy!


KY_PinTemplate_NEW1.png

Love this post?
Pin it!

Save this post for later or share it with your friends and family on Pinterest.

Check out more of Kristen’s pins here.

Roasted Cauliflower with Cumin and Ginger

Roasted Cauliflower with Cumin and Ginger

Victoria BC Dietitian (Nutritionist) Kristen Yarker, MSc, RD Shares Her Favourite Recipe for Cauliflower: Roasted Cauliflower with Cumin and Ginger. Easy, Healthy, Delicious.

Read More

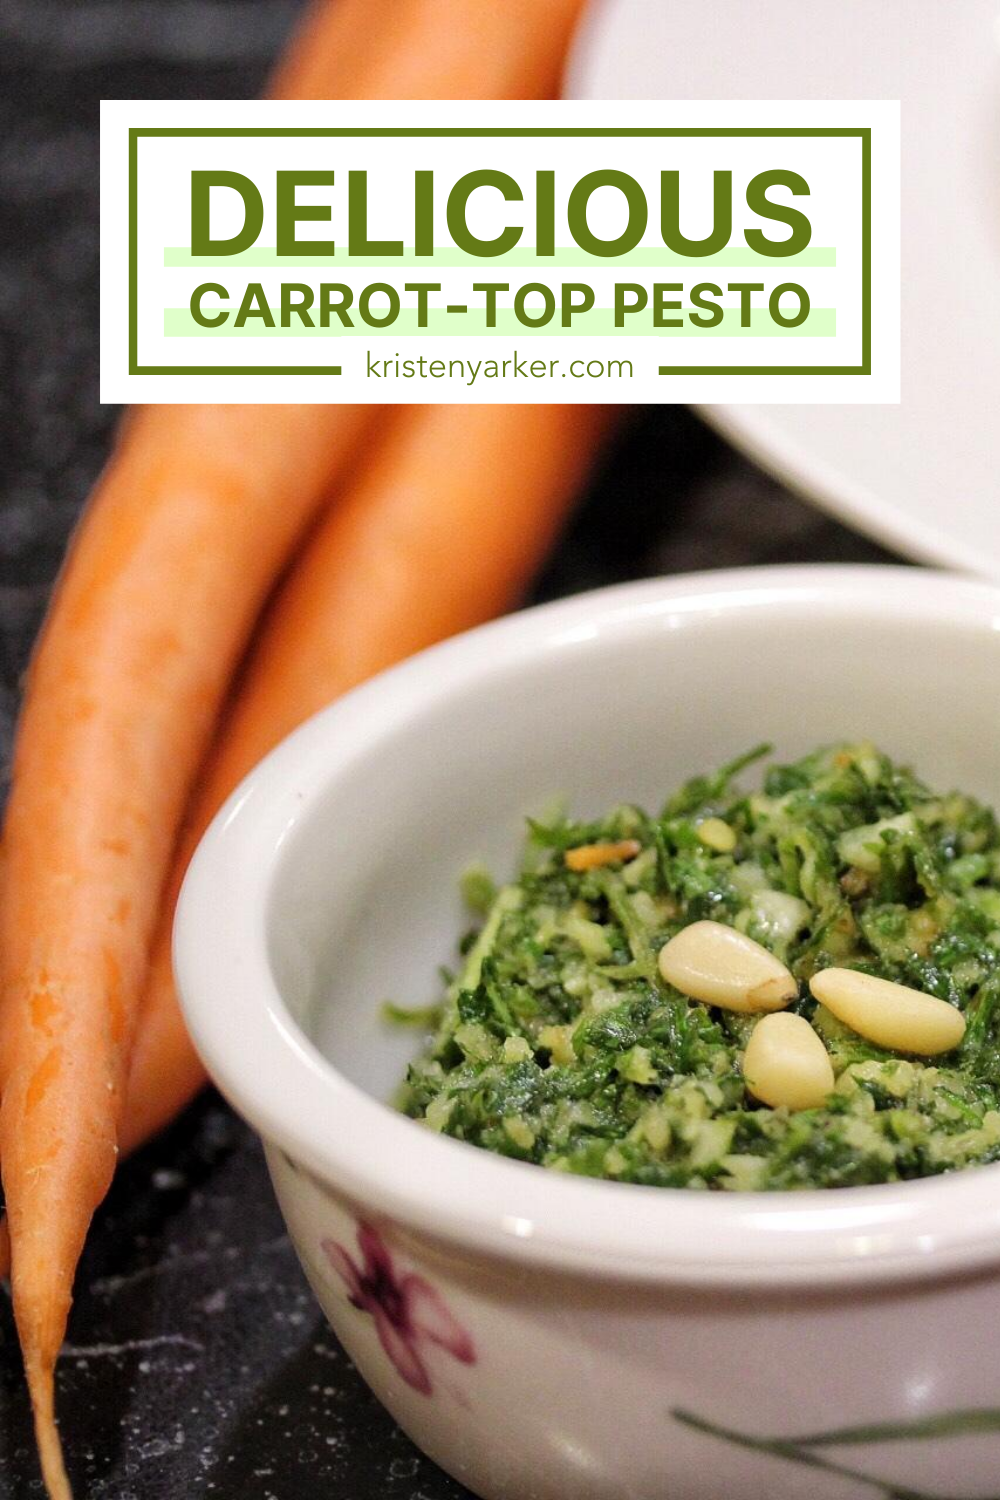
Carrot-Top Pesto

carrot-top-pesto

Reducing food waste is the ultimate win-win. It reduces our environmental impact by allowing less to go to waste. And, by using more of what we buy, it saves us money. So, I've been exploring recipes that use ingredients that normally you'd throw away. Today, student Hanna has perfected a pesto recipe made from the green leaves and stems of carrots instead of the commonly-used basil. Voila - carrot-top pesto! Perfect timing before our local carrots start to pop up in farmers' markets and produce stores.  Thanks Hanna! That's Hanna's handiwork with the camera too :)


Carrot-Top Pesto Ingredients

4-5 carrot top leaves

1/2 cup of olive oil

2 garlic cloves

2 tbsp toasted pinenuts (or walnuts or macadamias or almonds)

1/4 tsp salt

Dash of pepper


Carrot-Top Pesto Directions

  1. To toast pine nuts: Lay out pine nuts on a baking sheet or aluminum foil for 200C for 5 minutes, watching them so they don't burn. This can also work with a nonstick pan constantly stirring the pine nuts.

  2. In a food processor, combine carrot tops, garlic, salt and pepper until smooth. Begin to add the olive oil until desired consistency is reached.

  3. Enjoy!


Check out more healthy recipes.

P.S. This recipe is gluten-free, dairy-free, egg-free, and vegan.

KY_PinTemplate_NEW2-95.png

Love this post?
Pin it!

Save this post for later or share it with your friends and family on Pinterest.

Check out more of Kristen’s pins here.

Chocolate Chia Pudding

chocolate-chia-pudding

All I can say is chocolate chia pudding ... yum!

Healthy eating is all about eating good fuel for your body AND eating for pleasure. This delicious treat fits both categories. It's chocolatey goodness that's made with chia seeds. Chia seeds are rich in protein, iron and fibre. The result is a gelatinous or pudding-like consistency similar to tapioca pudding. It's also quite low in sugar.

Feel free to play with the recipe. The richest version is made with the canned coconut milk (coconut and chocolate - awesome!). I love orange chocolate and mint chocolate so sometimes I add a drop or two of mint extract or orange blossom water.


Chocolate Chia Pudding Ingredients

3 TBSP           chia seeds

1 cup              milk (dairy, plant-based alternative, canned coconut milk is especially delicious)

1 TBSP           cocoa powder

1.5 tsp             sugar


Chocolate Chia Pudding Directions

  1. Combine all ingredients in a container with a lid.

  2. Stir well to thoroughly combine.

  3. Leave at room temperature for 30 minutes to allow gel to start.

  4. Refrigerate overnight.

  5. Enjoy!


Healthier Chocolate Nut Spread

chocolate hazelnut spread

You asked for a healthier alternative to the famous (and delicious) chocolate hazelnut spread (you know which one). Today I'm sharing not just one, but 4 alternatives. All are much lower in sugar and have no palm oil. Just in time for back-to-school. I mention back-to-school because you'll not only be looking for packed lunch ideas, but also breakfast ideas for rushed mornings and quick after school snack ideas.

All of these contain nuts or seeds. That's the foundation of this foodstuff afterall. Some preschools and schools are nut and seed-free, some are nut-free (i.e. seeds are okay), and some are peanut-free (i.e. nuts and seeds are okay). Always check with your individual facility to find out exactly what is and what isn't allowed.

An important note, especially if you are introducing these to picky eaters who already are familiar with the famous chocolate hazelnut spread, none of these taste exactly the same. So, don't try to pull a fast one on your little one and swap one for the other. They'll notice the difference - kids have keen observation skills with their food. Call this spread by a different name. This way they will be expecting something different.

A huge THANK YOU to student volunteer Carla for her help with these recipes!

Enjoy!

nutfree chocolate spread

Healthy Nut-Free Chocolate Spread

Ingredients:

  • 2 cups toasted sunflower seeds
  • ½ cup cocoa powder
  • 4 tbsp icing sugar
  • 1/2 cup milk (optional)
  • ¼ to ½ cup canola oil

Directions:

  1. In a pan over medium-high heat, toast the sunflower seeds until light brown and fragrant, about 3-4 minutes. Set aside to cool.
  2. Using a food processor, process the sunflower seeds until powdery. Scrape the sides.
  3. Add the cocoa powder, icing sugar, milk (optional), and canola oil. Blend until smooth.

Homemade Chocolate Hazelnut Spread

Ingredients:

  • 2 cups hazelnuts
  • 3 tbsp icing sugar
  • ½ cup milk (optional)
  • ½ cup cocoa powder
  • ¼ to ½ cup canola oil

Directions:

  1. In a pan over medium-high heat, toast the whole hazelnuts with their peels on for 5 minutes. Set aside to cool.
  2. Once the whole hazelnuts are cool, rub them in between a kitchen towel to loosen and remove the skin.
chocolate spreads_medmed

Habibi's Chocolate Tahini and Powerplant's Chocolate Sprouted Seed Spread

(Note: In the spirit of being fully transparent, both of these were given to me for free. I did not receive payment to review either. I'm super picky about what foods I'll share with you in my reviews.)

I brought both of these to my co-working space last week so that everyone could try them. Yes, there are perks to having dietitians as friends and co-workers! Both received very positive reviews. Some people preferred one and an equal number preferred the other. Both products have a short ingredient list with only recognizable foods. They're made with nuts or seeds, providing healthy fats (and no palm oil). Each has just a touch of sugar/sweetener. Check each product's websites for a listing of what stores you can find them in.

Powerplant's spread has an intense chocolate taste for you dark chocolate lovers. It has a chunkier texture but smooth mouthfeel. So it's perfect for spreading on a cracker but not on soft bread. It totally screams to be included in your next smoothie.

Habibi's Chocolate Tahini has a milder chocolate taste. A few people found the tahini and chocolate flavours fought eath other. Most of us thought it was delicious (me included). This spread is the more classically kid-friendly of the two.

Looking for more healthy, kid-friendly recipes? Check out my recipe page.

5th Annual Homemade Ice Pop Recipes

spinach-kiwi ice pop

It's back, my annual home-made ice pop recipe collection. Some may call these homemade popsicles or paletas. Or, frozen smoothies. Whatever you call them they're a delicious summer treat. I want to give a big shout out to Carla, the dietetic student who is volunteering with me for creating these recipes. My directions for her: the recipes need to be simple, include no added sugar, include fruit and even veggies, and only include easy-to-find ingredients. Oh, and of course, that they needed to be delicious. She sure delivered.

The directions for each recipe are the same:

  1. Combine all ingredients in a blender.
  2. Blend until smooth.
  3. Pour into molds.
  4. Freeze.

Enjoy her work!

Kristen

P.S. For more delicious, healthy frozen recipes, check out these links:

Spinach Kiwi

Inspired by: http://www.kiipfit.com/spinach-kiwi-popsicles/

Packed with fruit and leafy greens, the vibrant green color of these popsicles comes from blending both kiwi and spinach.

  • 1/3 cup spinach
  • 1  kiwi
  • 2 drops lemon juice
  • 1/3 cup water

Mango Lassi

mango lassi ice pop

Inspired by: http://revisfoodography.com/2015/04/mango-lassi/

Inspired from a classic Indian cold drink, mango lassi is a blend of yogurt, fruit and spice. Not a fan of cardamom? Simply omit the spice and you can still enjoy it as a mango-yogurt blend.

  • 1 mango
  • 160 ml greek yogurt
  • 1 small pinch cardamom (to taste)

Cantaloupe

cantaloupe ice pop

This very simple and refreshing recipe allows you to use ripe or extra ripe cantaloupes. No added sugar necessary.

  • ¾ cup cantaloupe
  • ¼ cup water

Get more healthy home-made ice pop recipes here:

5th Annual Healthy Home-Made Popsicles (ice pops, paletas)

4th Annual Healthy Home-Made Popsicles (ice pops, paletas)

Peanut Banana Chocolate Ganache Bites

YAY! It's my annual chocolate recipe. Perfectly timed for Valentine's Day.

If you're new to following me you might wonder why a dietitian is sharing a chocolate recipe. Quite simply, because food is more than just fuel for our bodies. Food feeds our minds and soul too. Denying ourselves the pleasure of food isn't healthy.

This recipe is super simple to make. And WOW is it decadent. Like the middle of a truffle without that pesky shell. I first made experimented by making this in regular-sized muffin tins and it was simply too much (and believe you me, it takes a lot of rich chocolate to make me come to that conclusion!). Mini muffin tins make the perfect size. Just like those 2 bite brownies, but healthier for you and more decadently delicious.

These really are for dark chocolate lovers. So they may be more of an adult treat. But you never know. Make them with your kids and see what their verdict is.

The inspiration for this recipe was from chocolatecoveredkatie.com

If you follow these lifestyles, you'll be happy to know that these heavenly bites are vegan, paleo, gluten-free and have no added sugar.

You can easily make them peanut-free by omitting the peanuts. Go completely nut-free (note: they do contain coconut) or substitute pistachios, chopped almond, or hazelnuts for the topping.

Peanut Banana Chocolate Ganache Bites Ingredients

4 TBSP coconut butter (Note: This isn't the same as coconut oil. Also, if your jar of coconut butter has separated, scrape off the oil and use the lower level - the coconut butter)

1 ripe banana

3 TBSP cocoa powder

3 small pinches salt

4 TBSP unsalted peanuts

Peanut Banana Chocolate Ganache Bites Directions

This recipe happens really quickly so you'll want to prepare all your ingredients before you start cooking.

  1. On a small plate, mash the banana really well.

  2. Chop peanuts.

  3. In a small saucepan over medium heat, melt the coconut butter, stirring constantly.

  4. Add the mashed banana. Stir constantly until completely combined.

  5. Lower heat. Add cocoa powder and 1 pinch of salt. Mix well and remove from the heat.

  6. Moving quickly, spoon into a mini muffin tin. Be careful, the mixture is very hot.

  7. Top with chopped peanuts and sprinkle with salt.

  8. Freeze for 1 hour.

  9. Enjoy!

Note: The ganache bites are at the absolute perfect texture when eaten after freezing for 1 hour. If you make them ahead of time and freeze for longer, remove them from the freezer and warm them to room temperature for at least 30 minutes (otherwise they'll be rock hard).

Check out these other healthy chocolate recipes:

Chocolate Chia Pudding

Chocolate Nut Spread

Mint Chocolate Whip

Squash Soup with Orange and Ginger

squash-soup-carrot-orange-ginger

This squash soup, with its bright orange colour and warming ginger is my “chicken” soup that I eat when I have a cold or the flu. Or when I’m looking for comfort food to warm me on a cold day.

This is a “Kristen” recipe – very imprecise but also very flexible. It takes some time with all the chopping. I recommend making a big batch because it freezes well.

Squash Soup Ingredients

  • Vegetable oil (preferably olive oil)
  • Member of the allium family (onion, garlic, leek, shallots)
  • Ginger (I like about an inch)
  • 2 or 3 kinds of orange vegetables like winter squash (my favourite is butternut but any kind will work including pumpkin), carrots, yams, sweet potatoes
  • Vegetable stock, chicken stock or water (water will make the blandest soup – use as a last resort)
  • Orange juice
  • Salt or seaweed
  • Fresh ground pepper

Squash Soup Directions

  1. Finely chop the members of the allium family.
  2. Grate the ginger.
  3. Peel and chop the orange veggies. Cut squash, yams, and sweet potatoes into ½ to 1 inch pieces. Cut the carrots into coins. Carrots take longer to cook than squash and yams/ sweet potatoes are in the middle. So, you will want the carrot pieces smaller than the squash pieces and the yam/ sweet potato pieces middle in size.
  4. In a large, heavy bottomed pot, add enough oil to cover the bottom of the pot. Heat it over low-medium heat. Add the allium family members and cook until onions/ shallots are translucent or the leeks have softened.
  5. Add the ginger and orange vegetables and sauté for a few minutes, stirring frequently.
  6. Add enough stock to just cover the veggies. Add seaweed or salt. Cover with a lid, turn up the heat to high and bring to a boil. Reduce heat to medium-high and boil gently until the orange veggies are soft, stirring periodically. Add stock/ water while cooking, if needed.
  7. Remove from the heat and let cool slightly.
  8. Using a blender or hand-held mixer, puree the soup, adding orange juice one splash at a time until you reach your desired consistency and flavour.
  9. Return to the pot and re-heat. Serve hot, topped with a sprinkling of freshly ground pepper.
  10. Enjoy!

Find more delicious recipes here.